What is Soldering?
Soldering is the process of joining two or more metal components together by melting and applying a filler metal (solder) into the joint. The solder, when cooled, creates a strong electrical and mechanical bond between the components. Soldering is widely used in various fields, including electronics, plumbing, jewelry-making, and more.
Why is Soldering Important?
Soldering plays a crucial role in many industries and applications. In electronics, it is essential for creating reliable electrical connections between components on printed circuit boards (PCBs), wiring, and other electronic assemblies. Proper soldering techniques ensure strong, long-lasting connections that can withstand vibrations, temperature changes, and other environmental factors.
Tools and Materials Needed for Soldering
Before you begin soldering, it’s essential to gather the necessary tools and materials. Here’s a list of the basic items you’ll need:
Tools
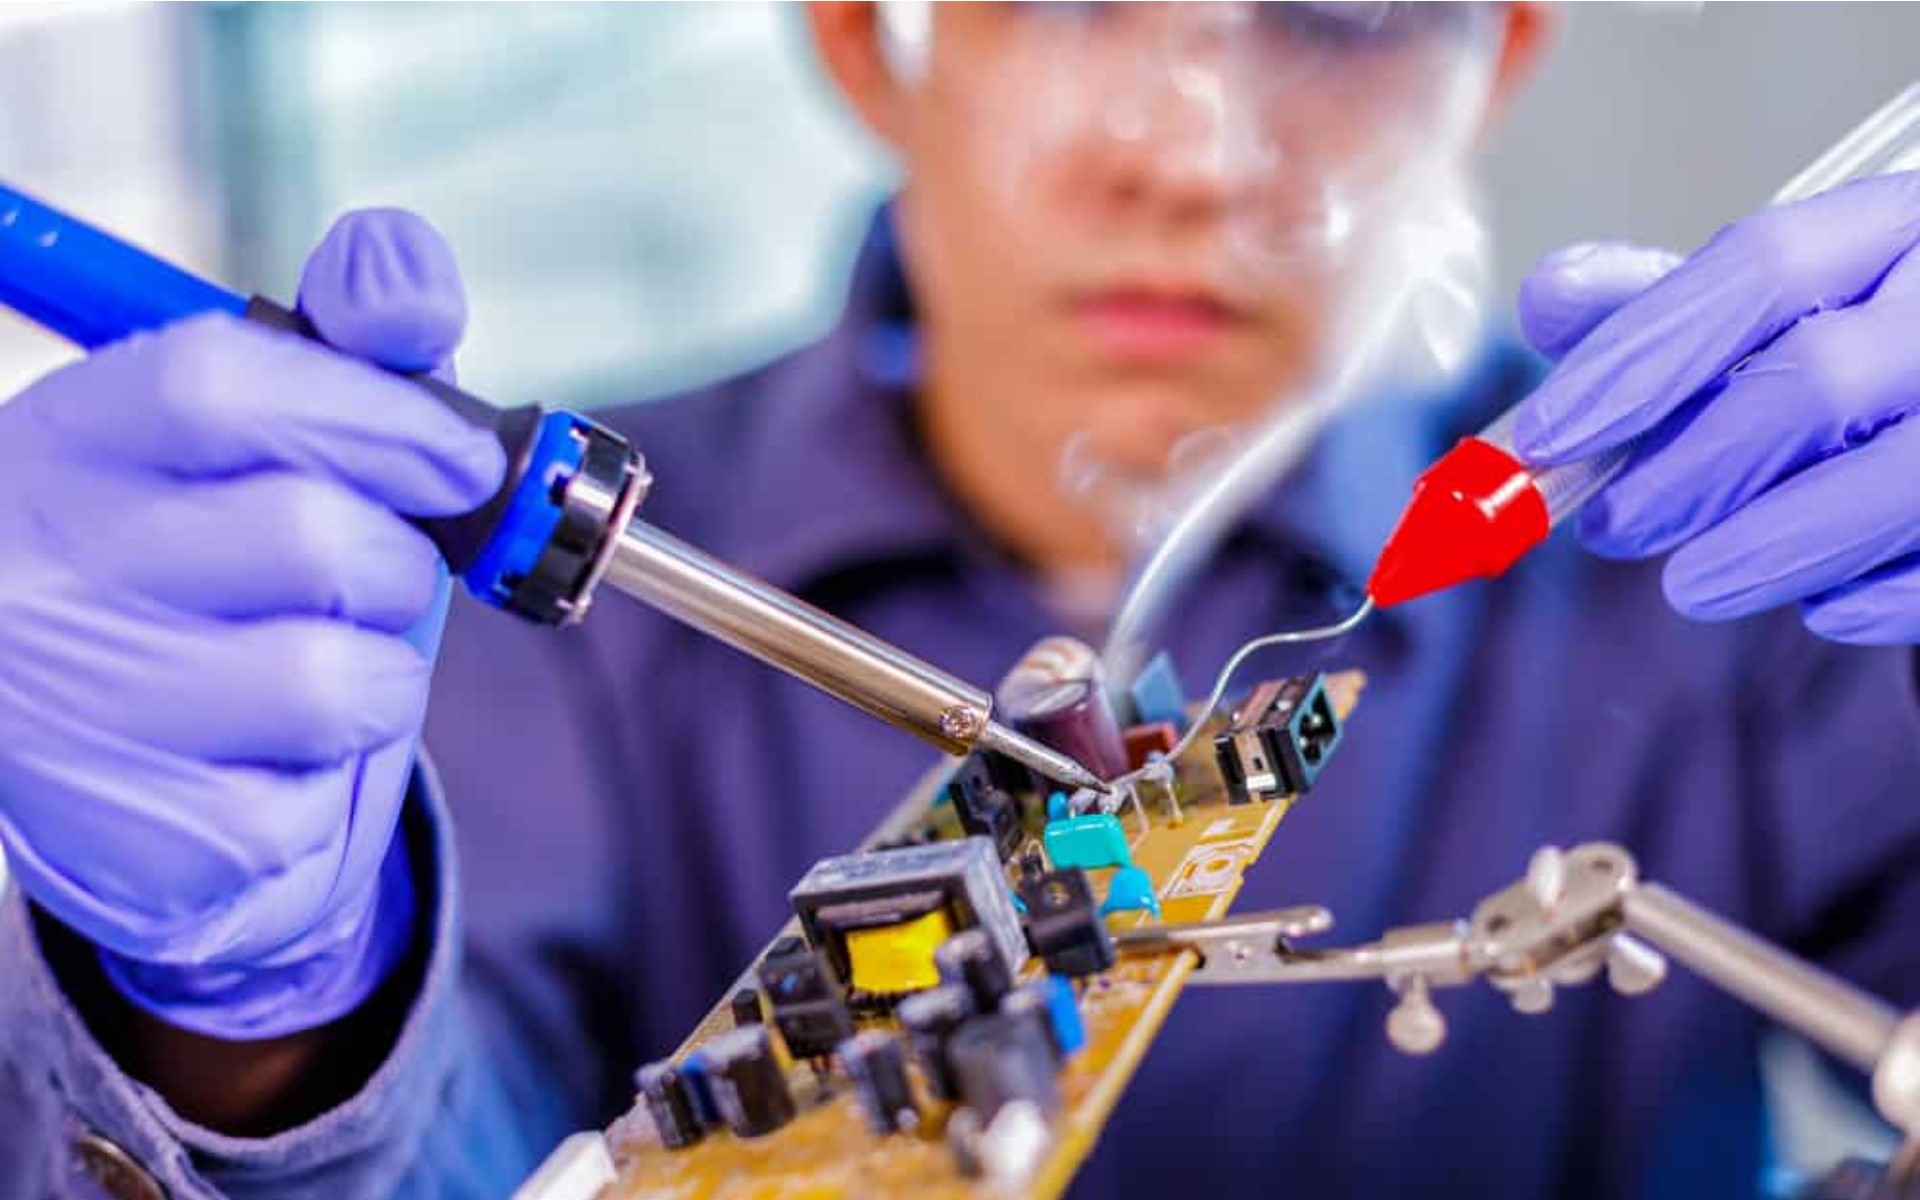
- Soldering Iron: This is the primary tool used for soldering. Soldering irons come in various wattages and tip sizes. A common choice for electronics work is a 25-40 watt soldering iron with a pointed tip.
- Solder: Solder is a metal alloy that melts and flows into the joint to create a strong bond. The most common type for electronics is a rosin-core solder, which contains a flux that helps remove oxides and promote better flow.
- Helping Hands or PCB Holder: These tools are designed to hold your work securely in place, freeing up both hands for soldering.
- Solder Wick or Desoldering Braid: Used for removing excess solder or correcting mistakes.
- Flush Cutters or Wire Strippers: Needed for cutting and stripping wires or component leads.
- Safety Equipment: This includes a well-ventilated work area, safety glasses, and a fire-resistant surface or mat.
Materials
- Components: These are the electronic components you’ll be soldering, such as resistors, capacitors, integrated circuits (ICs), and more.
- PCBs or Breadboards: Printed circuit boards or breadboards are used to mount and connect the electronic components.
- Isopropyl Alcohol and Cotton Swabs: Used for cleaning the soldering iron tip and components before soldering.
Soldering Techniques and Tips

Now that you have the necessary tools and materials, let’s dive into some soldering techniques and tips:
1. Prepare Your Workspace
- Choose a well-ventilated area to work in, as soldering produces fumes that can be harmful if inhaled.
- Ensure your workspace is clean and free from clutter, with a fire-resistant surface or mat to protect against accidental burns or solder spills.
- Organize your tools and materials within easy reach.
2. Tinning the Soldering Iron Tip
Tinning the soldering iron tip is the process of applying a thin layer of solder to the tip, which helps improve heat transfer and prevents oxidation. Here’s how to do it:
- Heat up your soldering iron to the recommended temperature (usually between 600°F and 700°F).
- Clean the tip with a damp sponge or brass wool to remove any oxidation or debris.
- Apply a small amount of solder to the tip, allowing it to melt and coat the entire tip.
- Wipe off any excess solder, leaving a thin, shiny layer behind.
Tinning the tip should be done before each soldering session and periodically during extended use to ensure optimal heat transfer and solder flow.
3. Preparing Components and PCBs
Before soldering, it’s essential to prepare the components and PCBs properly:
- Components: If necessary, bend the component leads to fit the holes on the PCB or breadboard.
- PCBs: Clean the PCB surface and the component leads with isopropyl alcohol and a cotton swab to remove any debris or oxidation.
- Breadboards: No preparation is typically required for breadboards, as they are designed for easy insertion and removal of components.
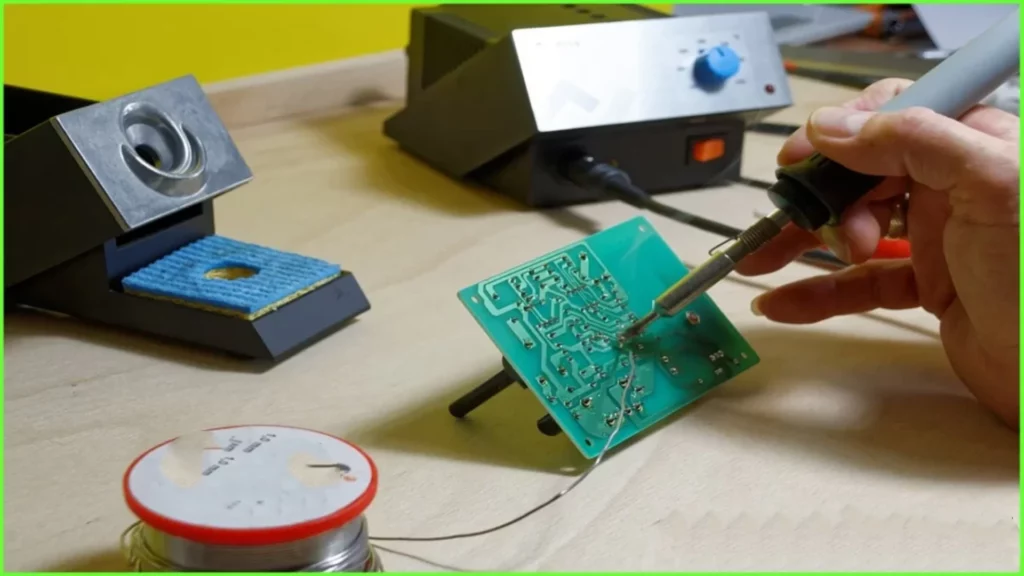
4. Proper Soldering Technique
Follow these steps for a successful solder joint:
- Position the component on the PCB or breadboard, ensuring the leads are inserted correctly.
- Hold the soldering iron tip against both the component lead and the PCB pad simultaneously.
- After a few seconds, apply a small amount of solder to the joint, allowing it to flow around the lead and the pad.
- Remove the solder first, then the soldering iron, allowing the joint to cool and solidify.
- Inspect the joint for a shiny, cone-shaped appearance, indicating a good solder connection.
5. Avoiding Common Mistakes
To achieve high-quality solder joints and prevent potential issues, keep these tips in mind:
- Avoid applying too much solder, as it can create bridges between adjacent pads or leads.
- Don’t overheat the joint, as it can damage the component or PCB.
- Ensure proper flux activity by using a high-quality rosin-core solder.
- Clean the soldering iron tip regularly to maintain good heat transfer and solder flow.
- Use the appropriate tip size and shape for the joint being soldered.
6. Desoldering and Rework
Sometimes, you may need to remove or replace a component on a PCB. In such cases, desoldering and rework techniques are necessary:
- Desoldering: Use a desoldering braid or solder wick to remove excess solder from the joint. Heat the joint and place the desoldering braid on top, allowing it to absorb the molten solder.
- Removing Components: Once the solder is removed, gently rock the component back and forth while heating the joint until it becomes free.
- Cleaning: Clean the PCB pads with isopropyl alcohol and a cotton swab to prepare for the new component.
- Resoldering: Follow the proper soldering technique to install the new component.
Frequently Asked Questions (FAQ)
- What is the ideal temperature for soldering electronics? The ideal temperature range for soldering electronics is typically between 600°F and 700°F (315°C to 370°C). This range provides sufficient heat to melt the solder while minimizing the risk of damaging heat-sensitive components.
- Can I use any type of solder for electronics work? No, it’s essential to use the appropriate solder for electronics work. The most common type is a rosin-core solder, which contains a flux that helps remove oxides and promote better solder flow. Lead-free solders, such as those containing tin, copper, and silver, are also widely used.
- How do I prevent cold solder joints? Cold solder joints occur when there is insufficient heat applied to the joint, resulting in a weak, unreliable connection. To prevent cold solder joints, ensure that the soldering iron tip is properly tinned, apply enough heat to the joint before adding solder, and allow the joint to cool completely before moving on.
- How can I improve my soldering skills? Practice is key to improving your soldering skills. Start with simple projects or kits designed for beginners, and gradually work your way up to more complex assemblies. Watch tutorial videos, read guides, and seek feedback from experienced solderers to identify areas for improvement. Additionally, invest in high-quality tools and materials, as they can greatly impact the quality of your solder joints.
- Can I reuse solder? While it’s possible to reuse solder, it’s generally not recommended. Reused solder may contain impurities or oxides that can compromise the quality of the solder joint. It’s best to use fresh, high-quality solder for each project to ensure optimal performance and reliability.
By following these basic soldering tips, you’ll be well on your way to creating strong, reliable solder joints for your electronics projects. Remember, practice, patience, and attention to detail are key to mastering the art of soldering.


